

# Grow mung bean sprouts in three days and prepare a salad from them
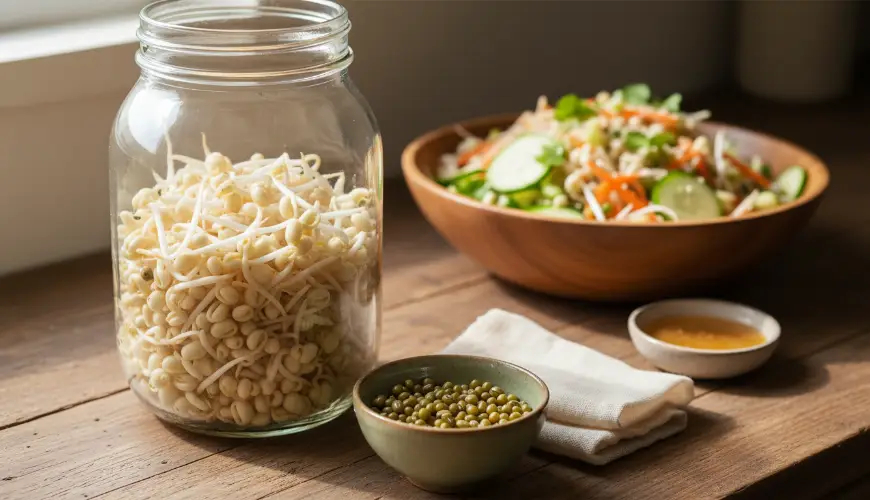
Is there perhaps a simpler way to grow fresh vegetables at home than mung bean sprouts? Probably not. While growing tomatoes or peppers requires months of patience, the right conditions, and a considerable amount of gardening skill, mung bean sprouts can be grown at home in three days by virtually anyone – without a garden, without special equipment, and without experience. All you need is a jar, water, and a little regularity.
Mung bean, botanically known as Vigna radiata, originally comes from India and Southeast Asia, where it has formed the basis of everyday nutrition for thousands of years. Today it has become popular among health-conscious people around the world – and for good reason. Sprouting dramatically changes the nutritional profile of the seed. According to research published in journals such as the Journal of Food Science and Technology, the content of B vitamins and vitamin C increases during sprouting, while phytic acid, which otherwise inhibits mineral absorption, is broken down. In other words, sprouted mung beans are more nutritious than unsprouted ones.
Try our natural products





How to grow mung bean sprouts at home in three days
The entire process is surprisingly undemanding, but it has its rules that are worth following. The most important thing is to start with quality ingredients – organic mung beans that have not been chemically treated. Such seeds are alive and sprouting will proceed reliably. Chemically treated seeds from conventional agriculture, on the other hand, may sprout poorly or not at all.
The first day begins with soaking. Measure out approximately 3–4 tablespoons of dry mung beans and cover them with a sufficient amount of clean cold water. The beans should be submerged in at least twice their volume of water, as they will swell considerably overnight. Soaking ideally lasts 8 to 12 hours – overnight is therefore absolutely ideal. In the morning, the beans are swollen, softer, and ready for sprouting.
The water is drained and the beans are moved to a sprouting container. This can be a classic preserving jar covered with gauze or a special mesh lid, but a colander, a tray with drainage holes, or a commercially available sprouting stand will also work. The jar is placed at an angle with the bottom facing up so that excess water can drain freely – this is crucial for preventing mould. The sprouts must not stand in water; they need moisture but also air.
On the second and third day, the beans are rinsed two to three times a day with clean water and left to drain again. Direct sunlight is not needed – sprouts grow well even in shade or under indoor lighting. Direct sunlight could, on the contrary, overheat or dry them out. The ideal temperature for sprouting is between 18 and 24 degrees Celsius, which is standard room temperature. After 48 hours, the first white shoots are visible, and after 72 hours – exactly three days – the sprouts are done, crunchy, and ready to eat.
The resulting sprouts should have a white or light green shoot approximately 2–4 centimetres long. If sprouting goes well, the volume of the original amount of beans will multiply four to five times. From 4 tablespoons of dry beans, a full large jar of fresh sprouts will be produced.
Finished sprouts are stored in the refrigerator in a covered container, where they will keep fresh for up to five days. Before storing, it is a good idea to rinse them once more and dry them thoroughly – moisture accelerates their spoilage.
What to watch out for
The most common problem with home sprouting is the development of mould or an unpleasant odour. This is prevented by regular rinsing and thorough draining. If the sprouts start to smell or become slimy, it is better to discard the batch and start again. The cause is usually insufficient draining, excessively high temperature, or contaminated water. Hygiene is absolutely essential when sprouting – containers should always be clean and ideally rinsed with hot water before each use.
Another tip is not to place sprouts in direct sunlight, even though it may seem that light will support sprouting. The opposite is true – direct sunlight can scorch or overheat the sprouts and cause them to spoil.
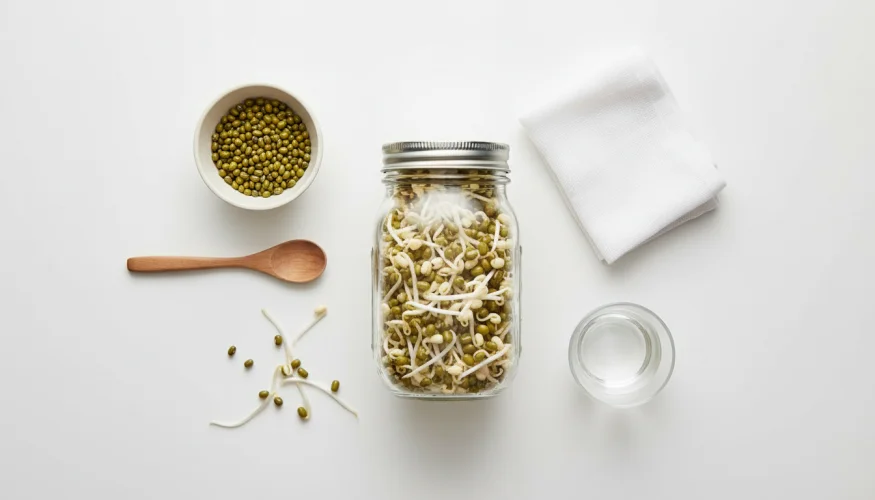
A mung bean sprout salad that will surprise you with its freshness
Once the sprouts are ready, a whole world of culinary possibilities opens up. They can be added to soups, wok dishes, smoothies, or sandwiches, but their simplest and at the same time best use is in a salad. A mung bean sprout salad is quick, light, full of flavour, and nutritionally exceptional.
Imagine Klára, a thirty-year-old accountant from Brno, who tried home sprouting for the first time last year. "I expected it to be complicated, but it was simpler than cooking rice," she says. After three days she had a full jar of sprouts and didn't know what to do with them. A salad was the first thing that came to mind – and it became her favourite quick lunch, which she now prepares every week.
A basic mung bean sprout salad requires few ingredients. The sprouts form the base, to which grated or julienned carrot, sliced cucumber, fresh coriander or parsley, and spring onion are added. The dressing is what elevates the entire salad – and an Asian version made from lime juice, soy sauce, sesame oil, garlic, and a little fresh ginger works absolutely wonderfully. Those who prefer a less Asian profile can opt for a simple dressing of olive oil, lemon juice, mustard, and honey.
The salad is prepared without any heat treatment, so the sprouts retain all their vitamins and enzymes. It is a meal that satisfies without being heavy – ideal as a light lunch or a side dish to a main course. Those who want a more filling salad can add boiled eggs, chicken, tofu, or avocado.
For those who want to experiment, there are numerous variations. The Thai version of mung bean sprout salad includes rice noodles, peanuts, chilli, and pad thai sauce. The Indian version, known as sprout chaat, contains sprouts mixed with tomatoes, onion, green chilli, lemon juice, and spices such as cumin or chaat masala. Every culture that traditionally uses mung beans has developed its own way of preparing them – and all variations have one thing in common: simplicity and freshness.
It is worth mentioning that mung bean sprouts are among the most easily digestible legumes of all. Through sprouting, the complex carbohydrates that otherwise cause bloating are broken down, and the resulting product is thus well-tolerated even by people who normally have digestive problems with legumes. Nutritionists therefore recommend them as an excellent way to incorporate more plant-based protein into the diet without side effects.
As British nutritional advisor and plant-based diet author Patrick Holford noted: "Sprouting is one of the oldest ways to increase the nutritional value of food – and at the same time one of the cheapest." And he is right. A kilogram of organic mung beans costs on average around 60 to 80 crowns and lasts for dozens of batches of sprouts. From an economic perspective, it is one of the most affordable "superfoods" available.
Home sprouting has yet another dimension that is becoming increasingly important today – the ecological impact is minimal. No transportation, no plastic packaging, no chemicals. Sprouts grown at home are local in the purest sense of the word. If organic seeds are used as well, the entire process is fully in line with the principles of sustainable and mindful eating.
For those who want to start sprouting and have everything they need on hand, sprouting container sets or organic seeds are available, for example, in e-shops focused on a healthy lifestyle, such as Ferwer.cz, where you can find both quality organic mung beans and practical tools for home sprouting.
Mung bean sprouts are therefore much more than just a fashionable healthy eating trend. They are three days of patience that pay off many times over – on the plate, in the wallet, and for the planet. And a salad made from freshly home-grown sprouts, seasoned with a lime dressing and sprinkled with sesame seeds, is a reward that is worth every morning rinse of the jar.